Why Play Strait of Hormuz Defense Zone in 2026?
Strait of Hormuz Defense Zone is a completely free, no-download browser naval defense game from snoopbee.com. You pilot an interceptor drone launched from your naval destroyer to protect the fleet from relentless waves of hostile drones threatening oil tankers, offshore platforms and aircraft carriers in one of the world's most strategically critical waterways.
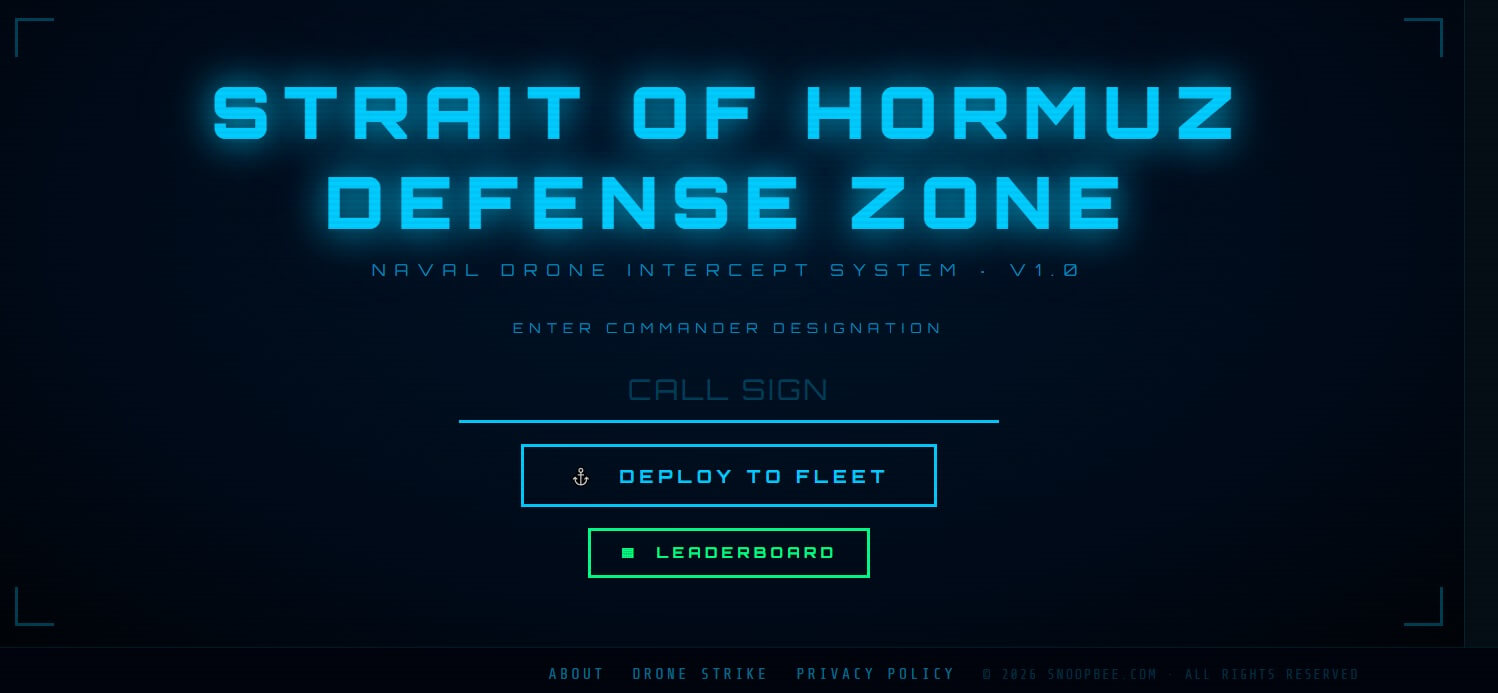
Enter your Commander designation, deploy to the Strait and fight through Wave Alpha and Wave Bravo to earn your place on the global Commander leaderboard. No installation, no registration — open your browser and defend.
Controls — Desktop & Mobile
Strait of Hormuz Defense Zone uses the same flight-control scheme as Drone Strike v3 — you physically fly your interceptor drone into hostile drones to destroy them. There is no turret, no aiming cursor and no click-to-fire. Movement is everything.
Desktop Controls
| Input | Action |
|---|---|
| Arrow Keys or WASD | Fly your interceptor drone in all 4 directions |
| Mouse | Navigate menus, leaderboard and UI |
Mobile & Tablet Controls
A virtual joystick appears bottom-left for full directional flight. All other actions use on-screen tap buttons. The HUD scales cleanly across all screen sizes — the game is fully playable on phones and tablets.
Use diagonal movement (two keys simultaneously) for maximum speed across the field. This lets you cut across drone formations and line up intercepts far faster than moving in straight lines.
Core Mechanic: Intercepting Hostile Drones
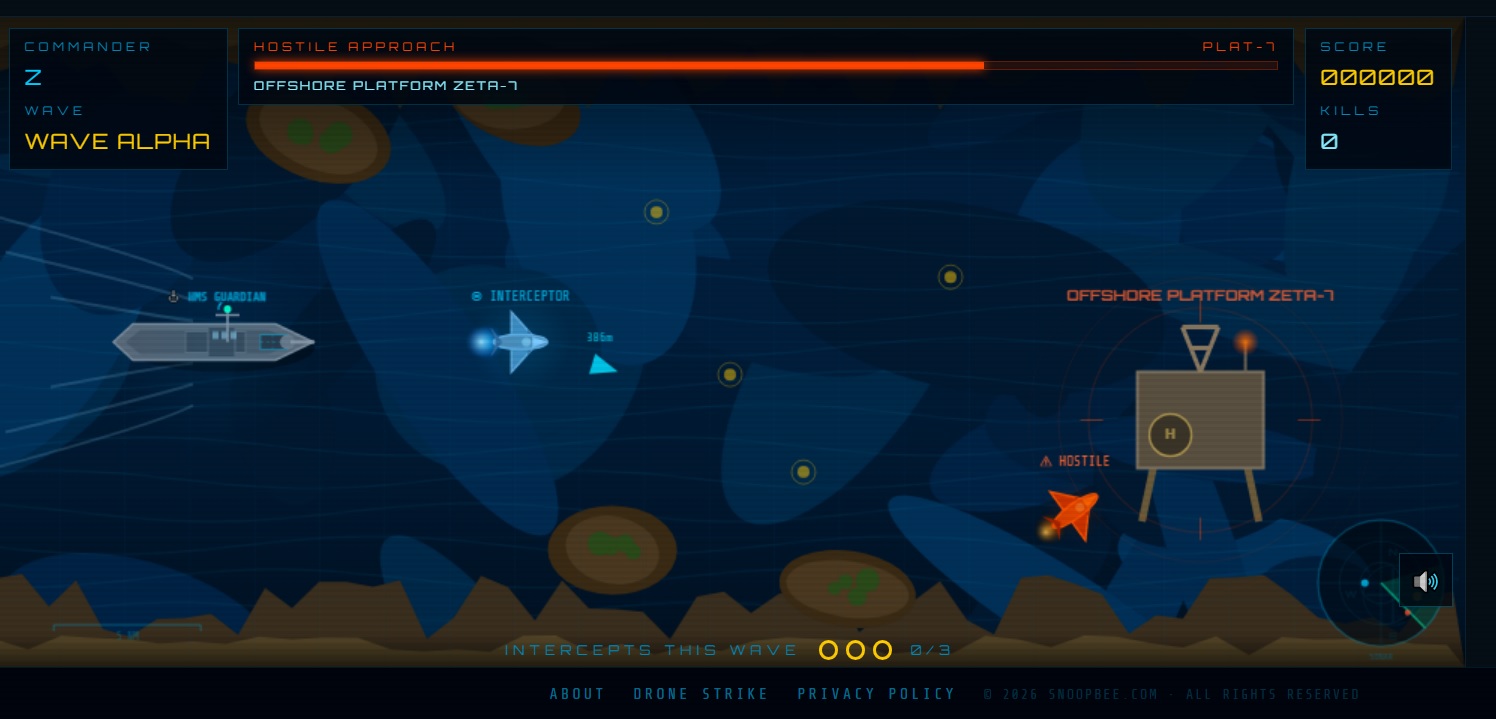
Your interceptor drone destroys hostile drones by flying directly into them — physical contact is the kill mechanic, identical to Drone Strike v3. The HUD always reminds you: INTERCEPT HOSTILE DRONES · PROTECT THE FLEET.
Every kill increments your KILLS and INTERCEPTS THIS WAVE counter (shown as e.g. 3/12). Clear the wave's intercept target to advance. Your SCORE (6-digit format, e.g. 000000) updates in real time with every kill.
WAVE label (top-center) · SCORE 000000 (bottom HUD) · KILLS counter · INTERCEPTS THIS WAVE e.g. 0/12 · 🔊 audio toggle. All critical information is visible at a glance throughout every wave.
Power-Ups Guide
Three power-ups appear as glowing collectibles during waves. Fly over them to collect — they do not auto-collect. All three are identical in name and function to Drone Strike v3 but the Naval Shield is unique to this game's theming.
| Power-Up | Icon | Effect | Best Used For |
|---|---|---|---|
| Speed Boost | ⚡ | Temporarily increases your interceptor's flight speed significantly | Closing distance on fast formations; escaping tight clusters before a crash intercept |
| Guided Missile | 🎯 | Fires a homing missile that auto-targets and destroys the nearest hostile drone | Eliminating hard-to-reach hostiles or dense clusters without direct contact |
| Naval Shield | 🛡 | Provides temporary invulnerability, allowing you to pass through hostile drones safely | Flying through dense formations to rack up multiple intercepts in one pass |
Naval Shield is your most powerful tool in dense waves — a single shielded pass through a tight cluster can net 5+ intercepts. Save Guided Missile for the hardest-to-reach drones in Wave Bravo. Collect Speed Boost early while the field is open and you have room to use it.
Wave Alpha & Bravo Breakdown
The game follows a clean two-wave structure — Wave Alpha then Wave Bravo — with a transition screen between them and a mission-end summary after Bravo.
Wave Alpha — Build Your Rhythm
When you deploy, the HUD broadcasts ⚠ HOSTILE DRONES INBOUND ⚠ / WAVE ALPHA / TARGET UNDER THREAT. Enemy formations in Alpha are manageable — use this wave to learn your interceptor's flight feel, identify power-up spawn zones and build your kill rhythm. Start central on the field so you can react to drones approaching from any direction.
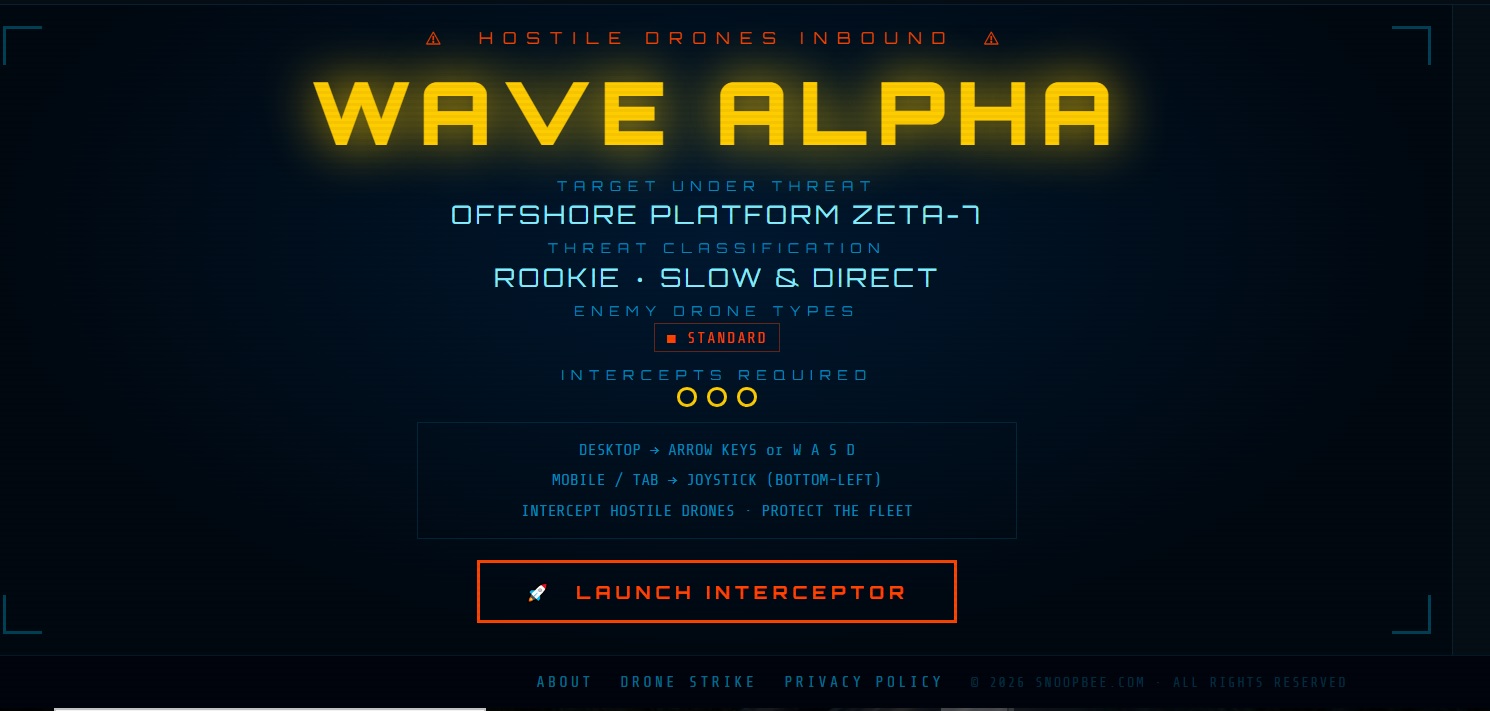
Don't rush into clusters without a power-up. Make clean individual intercepts in Alpha to build score momentum and reach Bravo with good KILLS numbers. One clean pass is always better than a panicked dash that leaves you surrounded.
Wave Clear — Sector Secured
Between waves the screen shows WAVE CLEAR / SECTOR SECURED / INCOMING: BRAVO WAVE. This is your breather. Review your kill count and score — then position your interceptor centrally before the next wave begins.
Wave Bravo — Full Threat Escalation
Wave Bravo brings increased drone counts, faster movement speeds and irregular formation patterns. This is where Guided Missile earns its keep — use it on the hardest-to-intercept drones and conserve Naval Shield for the densest clusters. Stay calm, keep moving and don't chase single drones across the entire field.
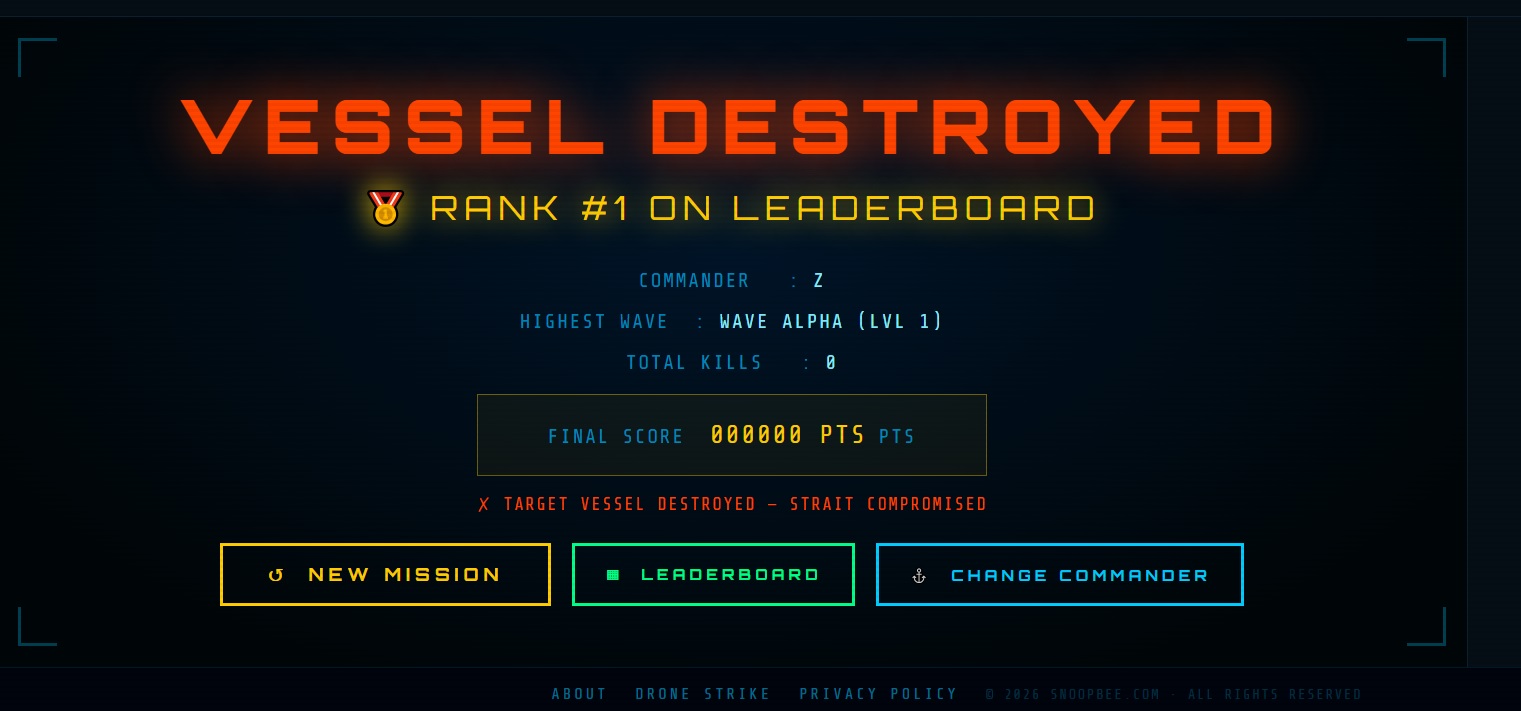
Strait Secured — Mission Complete
After clearing Wave Bravo the STRAIT SECURED screen displays your full mission summary: Commander callsign, Highest Wave reached, Total Kills and Final Score (6-digit). From here you can start a New Mission, view the Leaderboard or Change Commander.
Enemy Drone Patterns
Hostile drones in Strait of Hormuz Defense Zone vary in speed and approach pattern across both waves. While the game doesn't label enemy types with on-screen names mid-wave, you'll encounter these distinct behaviours:
| Pattern Type | Behaviour | Best Counter |
|---|---|---|
| Formation Fliers | Approach in structured rows; predictable straight-line path toward the fleet | Head-on intercept at speed; Speed Boost to close distance quickly |
| Fast Scouts | High-speed, erratic movement — hard to match trajectory | Naval Shield pass; cut off their path rather than chasing directly |
| Dense Clusters | Multiple drones grouped tightly; dangerous to approach unshielded | Naval Shield + straight pass through the centre for multi-kills |
| Diverging Groups | Split in multiple directions simultaneously; force split-attention decisions | Intercept the group heading most directly at the fleet first |
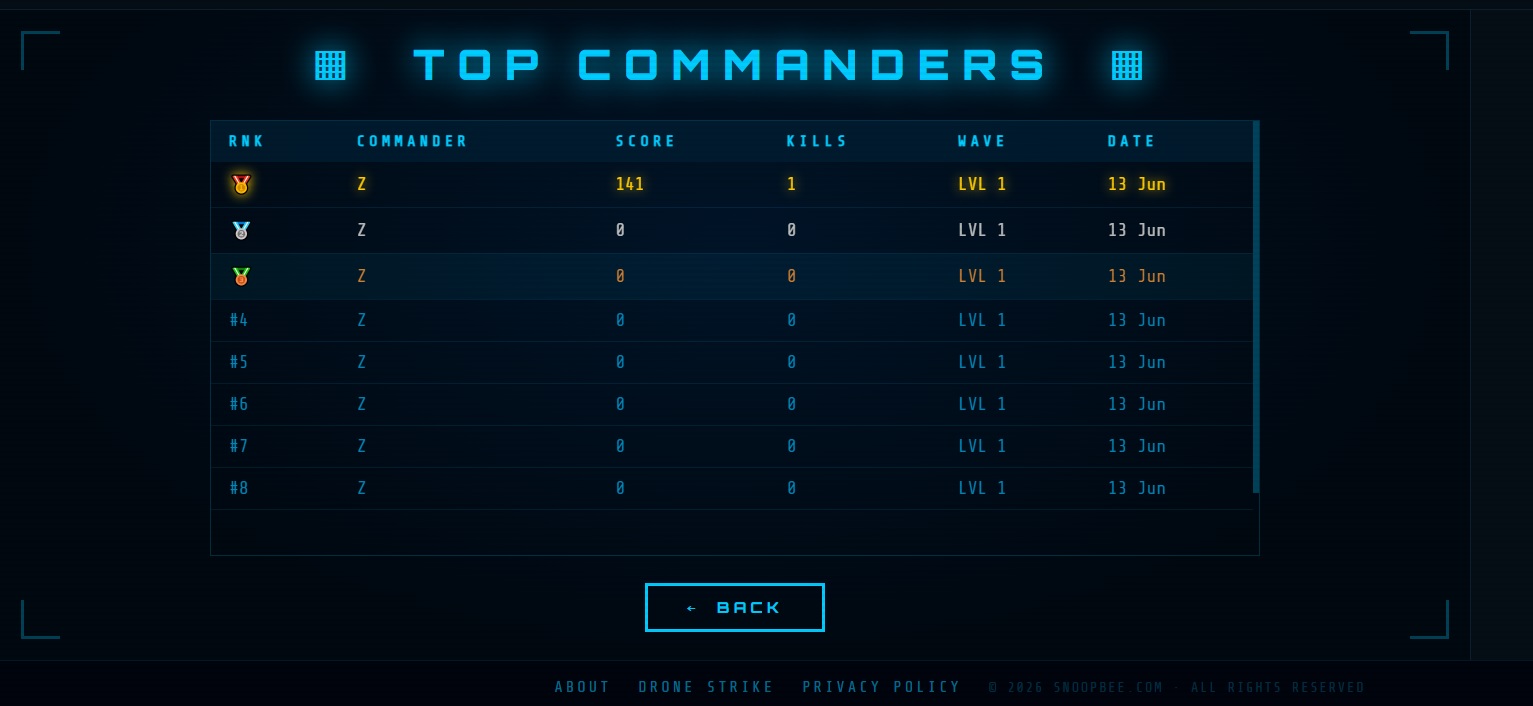
Commander Leaderboard & Scoring
The global TOP COMMANDERS leaderboard tracks the best missions across all players. Your score is calculated from kills, wave depth and intercept efficiency. The leaderboard columns are:
| Column | What It Tracks |
|---|---|
| RNK | Your global Commander rank position |
| COMMANDER | Your entered Commander designation / callsign |
| SCORE | Final score (6-digit format, e.g. 047250) |
| KILLS | Total hostile drones intercepted and destroyed |
| WAVE | Highest wave reached (Alpha, Bravo, or Strait Secured) |
| DATE | Date of the mission |
Kill efficiency drives your score higher than simply reaching Wave Bravo with average kills. Fast, clean intercept sequences score more than cautious one-at-a-time approaches. Aim to clear INTERCEPTS THIS WAVE quickly and keep moving — never stop to wait for drones to come to you.
12 Pro Commander Tactics
- Choose your Commander designation carefully. You can't rename mid-session. Pick a callsign worth seeing on the leaderboard.
- Start every mission from centre field. The central position lets you react to drones approaching from any direction without getting corner-trapped.
- Always use diagonal movement. Two keys simultaneously gives maximum speed — the single biggest difference between new and experienced commanders.
- Never chase a single drone across the full field. Use Guided Missile for strays — long pursuits leave you out of position when the next group spawns.
- Collect Naval Shield early in a dense wave. One shielded pass through a 5+ cluster is worth more than five separate careful intercepts.
- Save Guided Missile for Bravo. Wave Alpha drones are visible and manageable. Hold the Guided Missile for the hardest-to-reach Bravo drones.
- Keep audio on. The 🔊 toggle matters — audio cues signal incoming drone density and approach direction before they're fully visible.
- Watch INTERCEPTS THIS WAVE constantly. If your counter stalls, a drone is still alive somewhere on the field. Don't get distracted by score — find the remaining target.
- Move through targets, not at them. Aim to exit the far side of a formation — a full pass hits more drones than a stop-and-reverse approach.
- Use the WAVE CLEAR pause. The "SECTOR SECURED / INCOMING: BRAVO WAVE" transition is your only planned rest. Use those seconds to re-centre and plan your Bravo opening angle.
- Collect Speed Boost proactively. ⚡ Speed Boost is most useful with open field space. Don't wait until you're surrounded — collect it early and use it aggressively.
- Stay calm in Bravo. Erratic panicked movement in Bravo is worse than deliberate sweeping passes. The same rules apply at full intensity: intercept, collect, repeat.
Common Beginner Mistakes
- ❌ Chasing drones into corners — you'll trap yourself. Stay central or use Speed Boost to escape before the next group surrounds you.
- ❌ Wasting Guided Missile in Wave Alpha — Alpha drones are manageable without it. Save it for Bravo where it's worth far more.
- ❌ Ignoring the intercepts counter — the wave won't clear until you hit the target. If you're chasing your score and losing track of INTERCEPTS THIS WAVE, you'll stall the run.
- ❌ Moving in straight lines only — diagonal movement is dramatically faster. Single-axis movement is the #1 speed handicap for new commanders.
- ❌ Approaching dense clusters without Naval Shield — unshielded passes through tight groups are risky. If you have the shield charged, use it on clusters every time.
- ❌ Turning off sound — the 🔊 audio cues help you anticipate incoming waves and locate drones you can't yet see on screen.
- ❌ Starting a new mission when tired — fresh, focused runs always outscore grinding. If your score is plateauing, rest and return.
Frequently Asked Questions
Is Strait of Hormuz Defense Zone free to play?
Yes — 100% free with no download, no registration and no in-app purchases. Open snoopbee.com/hormuz_defense.html and play immediately in any browser.
Can I play on mobile?
Fully supported. The virtual joystick (bottom-left) and on-screen buttons provide the same full experience as desktop across phones and tablets.
How do I fire missiles or aim?
There is no separate fire button or aiming cursor. You destroy hostile drones by physically flying your interceptor into them. Guided Missile (🎯 power-up) is the only projectile in the game and it auto-targets the nearest drone when collected.
How many waves are there?
Two: Wave Alpha and Wave Bravo. Clearing Wave Bravo triggers the STRAIT SECURED mission-complete screen with your full score summary.
Does my score save to the leaderboard?
Yes. Your mission score is submitted to the global TOP COMMANDERS leaderboard under your Commander designation at the end of each run.
What does the 🔊 button do?
Toggles in-game audio on and off. We recommend keeping it on — audio cues help you anticipate drone approach patterns, especially in Wave Bravo.
Are there classes or upgrades?
No classes and no upgrades. Strait of Hormuz Defense Zone is pure skill — your Commander designation, flight control and power-up decisions are everything.
Ready to Defend the Strait?
2 waves. No download. No registration. Your Commander designation. The global leaderboard.
⚓ Deploy to the Fleet Now →
💬 Commander Feedback & Comments
Share your mission score, wave tactics or questions about Strait of Hormuz Defense Zone. All commanders welcome. (Max 200 words)